There’s nothing wrong with wanting to spice up your guitar’s appearance. Who knows? That new look might give you the inspiration you’ve been searching for or the will to start practicing more.
You might have even seen a really cool acrylic design on someone’s guitar and immediately want it for yourself. The only problem is that you probably don’t know how to go about it.
So how can you paint your guitar with acrylic paint?
First, you must prepare the guitar by removing all its hardware and electronics. If the guitar’s neck is removable, it has to go to. After this, clean the guitar’s body and apply a wood primer. Then proceed to draw your design and paint it. And after the paint must have dried, apply a wood sealer for better adhesion.
But there’s a lot more about guitars and acrylic paints to learn. Here, we’ll look into how to prepare and paint your guitar with acrylic paint.
How To Paint Your Guitar with Acrylics

As we’ve already stated, painting your guitar with acrylic paint is a delicate and detailed process. Here’s how you do it.
1. Prepare the Guitar
Once you’ve decided to paint your guitar, you’ll have to prepare it for the process. This applies to both acoustic and electric guitars.
Here are the steps to follow:
- Carefully remove the guitar’s strings and hardware. You might need a screwdriver to remove some parts. As you take apart the guitar, don’t forget to keep the detached parts in a safe place where they won’t get mixed up or lost. Also, remember every process you followed because you’ll have to arrange the guitar after painting.
- Fill any holes the guitar might have with an automotive filler and let them dry for 20 minutes. This is especially needed for electric guitars. Bondo is a popular and good filler material you can easily get in your local store.
2. Sand the Guitar’s Body
One of the major qualities of paint is adhesion. Without a body to adhere to, the paint will peel off a surface and fall off like flakes. Your guitar’s existing finish is not a good surface for painting and needs to be removed. You can do this by sanding the existing surface.
However, you can’t sand an acoustic and electric guitar the same way. The wood of an acoustic guitar is usually very thin and plays a major role in the guitar’s sound. So you’ll have to be very gentle with the sanding. You can even start with 80 grit sandpaper and go up from there.
3. Apply a Wood Primer
After sanding the guitar, dust it off with a very dry rag. You don’t want your guitar’s wood to absorb moisture; it will affect its sound.
After cleaning, lay the guitar on a flat surface and apply a wood primer. Use a primer that was designed for metal surfaces. The primer serves as an adherent and will help the paint stick to the wood for longer. Also, it’s not advisable to paint untreated wood.
You might also need to apply two coats of primer. Once the first coat dries, sand it with fine paper and apply another coat of primer. Some people even go as far as adding a third coat; there’s nothing wrong with that.
A common wood primer used for acrylic painting is Gesso.
4. Start Drawing
This is where your creativity comes to life. There’s nothing much for us to say here; draw whatever you feel like.
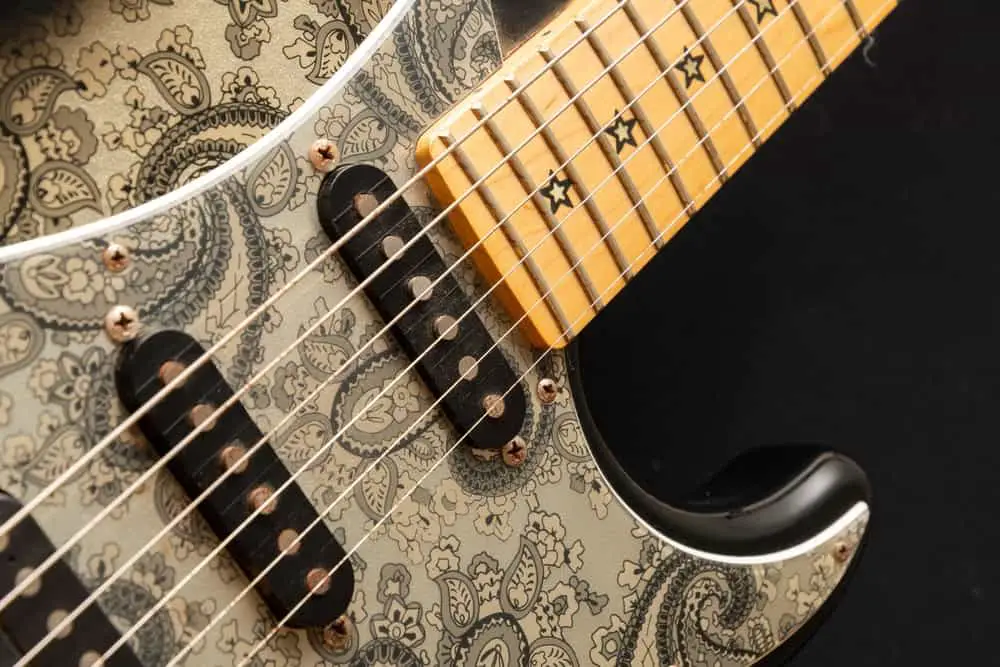
However, don’t forget to factor in the pickguard when drawing on an electric guitar. You don’t want to spend hours designing a guitar only for a pickguard to cover crucial parts of it.
A pickguard is a piece of plastic placed on a guitar’s body to protect from damages a pick might cause. They are usually placed next to the sound hole and have little or no effect on the guitar’s sound.
5. Paint the Design
After drawing, you can start painting with your acrylic paint. You can use a spray or brush paint, whichever you’re comfortable using.
If spray paint is used, try positioning the spray’s nozzle about 12-18 inches away from the guitar’s body. You can cover up your mistakes with another coat of paint but avoid making too many mistakes. You don’t want to end up with an uneven surface after the paint dries.
Lastly, if you’re applying multiple coats of paints, ensure that each coat dries for at least five minutes before adding another.
6. Apply a Wood Sealer
Once the paint is fully dry, apply a wood sealer. This will extend the paint’s lifespan by preventing it from cracking or peeling. Just like paints, you can apply the wood sealer with a brush or a spray. Spraying is easier and faster.
After the paint must have dried, run your fingers over the painted surface to confirm its smoothness. If you notice any uneven area, sand it with 400-grit wet sandpaper. You can also spray lacquer paint on the painted surface to give it a shiny look.
After completing all these steps, leave your guitar to dry for three weeks. This will allow the paint to cure and reveal its true color.
The Bottom Line
The beauty of art is that you can express it in many forms. There’s nothing wrong with wanting to show your beautiful painted designs on your guitar. After all, there’s no limit to self-expression.
However, you must carefully prepare for it and ensure perfect execution.
Firstly, prepare the guitar by removing its strings, hardware, electronics, and neck (if it’s detachable). After this, sand the guitar’s body and apply a wood primer. Then start your drawing and painting. Spray a wood sealer on the painted surface and allow the guitar to dry for three weeks.
By then, your guitar will shine in its beautiful new acrylic colors.
Frequently Asked Questions
Painting an electric guitar will not affect its tone because it relies on amplifiers and pickups for tone production. The case is different for acoustic guitars that depend on their tonewood for tone quality. Thick coats of paint might affect the acoustic guitar’s sound.
Yes, you can. Remember to clean the guitar properly and apply a wood primer before painting.


